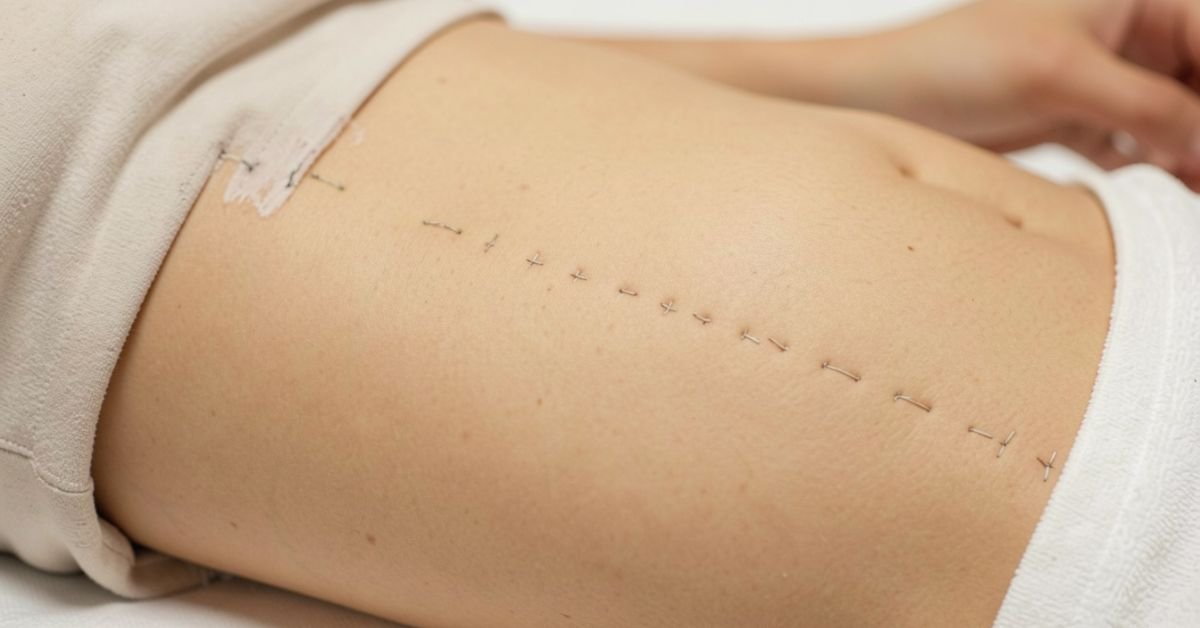
Stitches help close a wound and protect it while it heals. They keep the edges of the skin together and lower the risk of infection. Knowing how to remove stitches the right way is important. It can help prevent pain, bleeding, and damage to the healing skin.
Many people wonder if they can remove stitches at home. The answer depends on the type of wound and how well it has healed. Removing stitches too early or in the wrong way can cause problems. Learning the correct steps can help you make a safer decision.
In this guide, you will learn how to remove stitches safely and correctly. We will explain the tools you need, the steps to follow, and the mistakes to avoid. You will also learn when it is best to let a healthcare professional remove your stitches.
Healing Signs
Before removing stitches, make sure the wound has healed well. The skin should be closed with no open gaps. The area should look clean and dry. Mild itching is normal because the skin is repairing itself.
Check the wound for signs of healthy healing. There should be little or no redness around the stitches. Swelling should be gone or much better than before. You should not see pus, bad smell, or fresh bleeding.
If the wound still feels very painful or looks infected, do not remove the stitches. Wait until a healthcare provider checks the area. Taking a little extra time can help the wound heal safely and lower the risk of problems.
Required Tools
Before you remove stitches, gather all the tools you need. Using clean tools helps lower the risk of infection. Wash your hands well before touching the wound. Work in a clean and well-lit place so you can see each stitch clearly.
You may need the following items:
- Clean, small scissors or stitch removal scissors
- Sterilized tweezers
- Antiseptic solution or alcohol wipes
- Clean gauze or cotton pads
- Adhesive bandage, if needed
- Disposable gloves for extra protection
Make sure every tool is clean before you begin. Do not use rusty or dirty scissors. If you do not have the right tools or feel unsure, let a healthcare professional remove the stitches instead.
How to Remove Stitches
Removing stitches is a simple process when the wound has healed and you follow the correct steps. It is important to stay calm and work slowly. Rushing can cause pain or reopen the wound. Always make sure the area is clean before you begin.
The following steps will show you how to remove stitches safely and correctly. Each step is easy to follow and explains what to do from start to finish. If you notice pain, bleeding, or signs of infection at any point, stop the process and contact a healthcare professional.
Wash Hands
Start by washing your hands with soap and warm water. Scrub them for at least 20 seconds. Dry your hands with a clean towel or paper towel. Clean hands help keep germs away from the wound.
If possible, wear disposable gloves after washing your hands. This gives the wound extra protection from bacteria. Do not touch dirty surfaces before handling the stitches. Taking this simple step can greatly reduce the risk of infection.
Clean Area
After washing your hands, clean the stitched area gently. Use an antiseptic solution or an alcohol wipe if your healthcare provider has recommended it. Wipe away any dirt or dried blood with a clean cotton pad or gauze. Be gentle to avoid hurting the healing skin.
Look at the wound closely before you continue. Make sure the skin is fully closed and there are no signs of infection. Redness, swelling, pus, or a bad smell may mean the wound is not ready. If you notice any of these signs, do not remove the stitches.
Let the area dry for a minute before touching the stitches. A clean and dry wound is easier to work with and helps lower the risk of infection. Taking a little time to prepare the area can make the stitch removal process safer and more comfortable.
Cut Thread
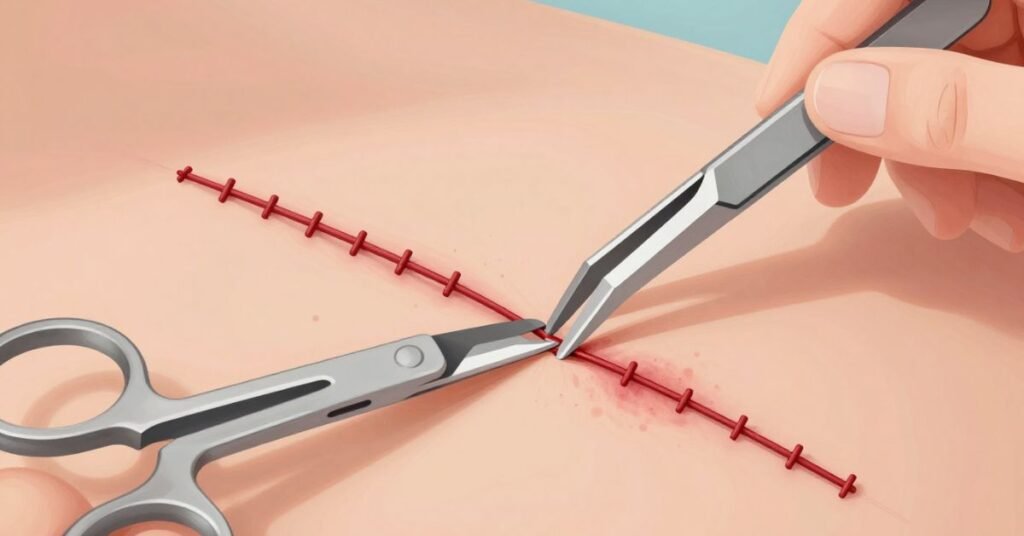
Use clean, sterilized scissors to cut the stitch. Lift the knot gently with clean tweezers. Cut the thread close to the skin on one side of the stitch. This helps keep the dirty outer part of the thread from passing through the skin.
Cut only one stitch at a time. Work slowly and carefully to avoid pulling on the wound. If you feel strong pain or notice bleeding, stop the process. If the stitch is hard to cut or remove, ask a healthcare professional for help.
Pull Stitch
After cutting the thread, use clean tweezers to hold the knot gently. Pull the stitch out in a slow and steady motion. Do not pull too hard or too fast. This helps protect the healing skin.
Remove one stitch at a time and check the wound after each one. The skin should stay closed without opening. A little tightness is normal, but you should not feel severe pain. If the wound starts to open, stop removing the remaining stitches.
Place each removed stitch on a clean tissue or gauze. Do not leave used stitches on the work surface. When all stitches are removed, check the area one more time. If you notice bleeding, swelling, or signs of infection, contact a healthcare professional.
Protect Skin
After all the stitches are removed, clean the area gently one more time. Pat the skin dry with a clean towel or gauze. Do not rub the wound because the new skin is still delicate. Keeping the area clean helps prevent infection.
Cover the wound with a small bandage if needed. This can protect the skin from dirt and rubbing. Change the bandage if it becomes wet or dirty. Follow any care instructions given by your healthcare provider.
Keep an eye on the wound over the next few days. Avoid heavy lifting or activities that may stretch the skin. Watch for redness, swelling, pus, or increasing pain. If you notice any of these signs, seek medical advice as soon as possible.
Safety Tips
Always make sure the wound is fully healed before removing stitches. Use clean and sterilized tools to lower the risk of infection. Work in a clean, bright place so you can see each stitch clearly. If you feel unsure at any point, ask a healthcare professional for help.
Keep these safety tips in mind:
- Wash your hands before and after the procedure.
- Remove one stitch at a time.
- Stop if the wound starts to open or bleed.
- Do not force a stitch that is difficult to remove.
- Keep the wound clean and dry after removing the stitches.
- Contact a healthcare professional if you notice signs of infection.
Common Mistakes
One common mistake is removing stitches too early. The wound may not be fully healed, and the skin can reopen. Another mistake is using dirty scissors or tweezers. This can increase the risk of infection and slow the healing process.
Some people pull the stitch before cutting the thread correctly. This can cause pain and damage the skin. Others try to remove all the stitches at once. It is always better to remove one stitch at a time and check the wound as you go.
Ignoring warning signs is another serious mistake. Redness, swelling, pus, or heavy bleeding should never be ignored. If you notice any of these problems, stop removing the stitches and contact a healthcare professional. Taking your time can help keep the wound safe.
Comparison Table
The table below shows the difference between safe and unsafe stitch removal. It can help you understand what you should do and what you should avoid. Following safe practices helps protect your wound and lowers the risk of infection.
Always check your wound before removing stitches. If you are unsure about any step, contact a healthcare professional. It is better to be careful than to risk reopening the wound.
| Situation | Safe Practice | Unsafe Practice |
| Hand cleaning | Wash hands with soap and water | Touch the wound with dirty hands |
| Tools | Use clean, sterilized scissors and tweezers | Use dirty or rusty tools |
| Wound check | Make sure the wound is fully healed | Remove stitches from an open wound |
| Work area | Choose a clean and bright place | Work in a dirty or dark area |
| Cutting stitches | Cut one stitch at a time | Cut several stitches at once |
| Removing stitches | Pull the stitch gently with tweezers | Pull hard or too quickly |
| Bleeding | Stop and seek help if bleeding starts | Ignore heavy bleeding |
| Signs of infection | Contact a healthcare professional | Continue removing stitches despite infection |
| Aftercare | Clean and protect the wound | Leave the wound uncovered if protection is needed |
| Physical activity | Avoid stretching the healing skin | Do heavy exercise right away |
| Bandage | Use a clean bandage if needed | Reuse an old or dirty bandage |
| When unsure | Ask a healthcare professional | Guess or force the procedure |
Final Thoughts
Removing stitches can be safe if the wound has healed and you follow the correct steps. Always use clean tools and work carefully. Never rush the process. Taking your time helps protect your skin and supports proper healing.
If you are unsure about removing stitches, it is always best to ask a healthcare professional for help. Your health and safety should come first. With the right care and patience, your wound can continue to heal well and leave a smaller scar.
FAQs
1. Can I remove stitches at home?
Yes, but only if the wound has healed properly and your healthcare provider has said it is safe to do so.
2. How do I know my stitches are ready to be removed?
The wound should be fully closed, dry, and free from redness, swelling, or signs of infection.
3. Does removing stitches hurt?
Most people feel only a slight tug or mild discomfort. It should not cause severe pain.
4. What should I do if the wound starts bleeding after removing stitches?
Apply gentle pressure with clean gauze. If the bleeding does not stop or the wound opens, seek medical care.
5. What happens if stitches stay in too long?
Leaving stitches in for too long can make them harder to remove and may increase the chance of scarring or skin marks.
No Responses