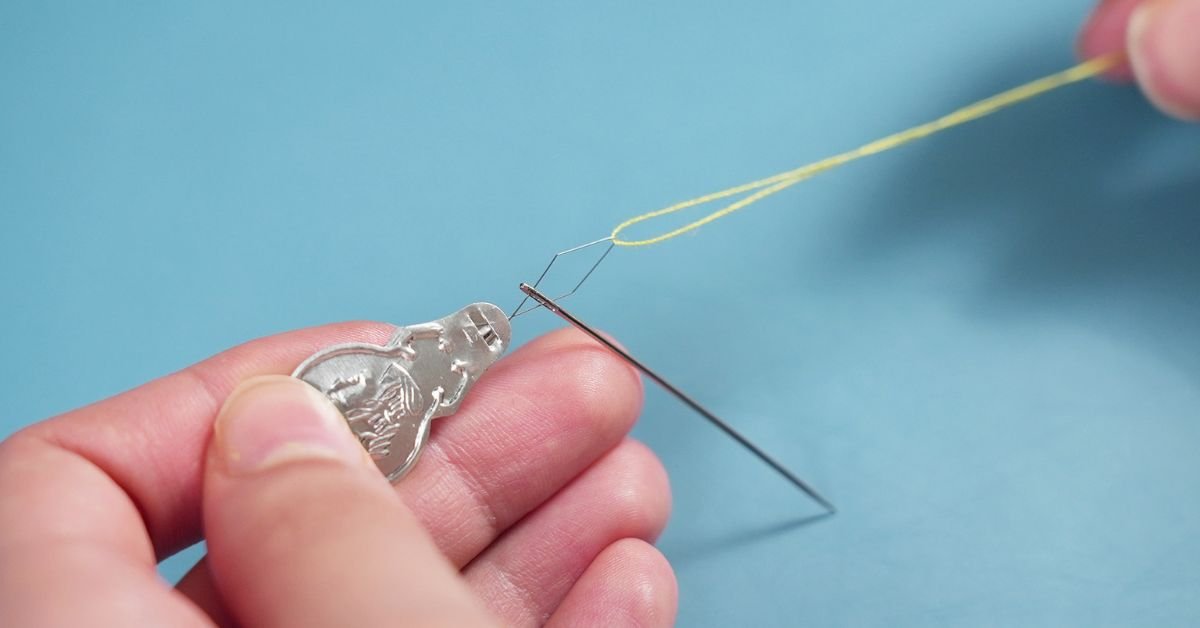
Threading a needle can be difficult, especially if the needle eye is very small. A needle threader is a simple sewing tool that helps you pass the thread through the needle with less effort. It is easy to use and can save time for beginners and experienced sewers alike.
If you often struggle to thread a needle or feel frustrated when sewing, you are not alone. Many people find this step challenging. The good news is that a needle threader makes the job much easier. With a few simple steps, you can thread a needle quickly and get back to your sewing project.
In this complete guide, you will learn how to use a needle threader step by step. You will also find helpful tips, common mistakes to avoid, and answers to common questions. By the end, you will feel more confident using this handy sewing tool.
Benefits
A needle threader makes sewing much easier. It helps you thread a needle in just a few seconds. This saves time and reduces frustration. It is a helpful tool for both beginners and experienced sewers.
Using a needle threader also reduces eye strain. You do not have to stare at the tiny needle eye for a long time. This is especially useful for older adults or anyone with poor eyesight. It makes sewing more comfortable and enjoyable.
A needle threader can also protect your thread from damage. It helps prevent the thread from fraying or breaking while threading the needle. This means you waste less thread and can start your sewing project more quickly.
How to Use a Needle Threader
Using a needle threader is simple and takes only a few moments. You do not need any special sewing skills. Just follow each step in the correct order, and you will thread your needle with ease.
Before you begin, make sure you have your needle, thread, and needle threader ready. Work in a well-lit area so you can see clearly. The following steps will guide you through the process from start to finish.
Step 1: Prepare
Start by collecting everything you need. You will need a needle, a piece of thread, and a needle threader. Keep them on a clean, flat surface so they are easy to reach.
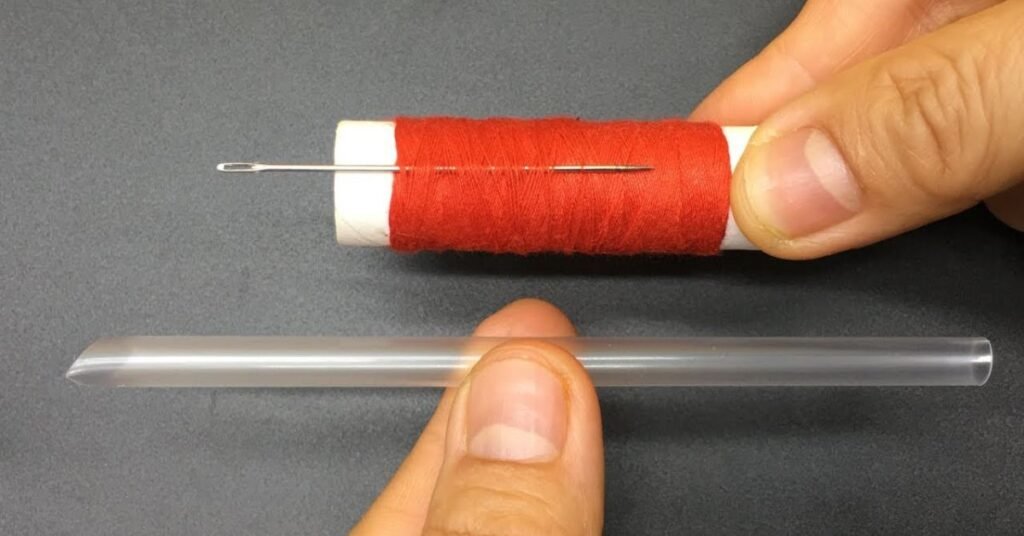
Choose a thread that matches your sewing project. Cut the end of the thread with sharp scissors to make it neat. A clean cut is easier to pass through the threader and the needle.
Find a bright place to work before you begin. Good lighting helps you see the small eye of the needle. Hold the needle and threader gently, and you are ready for the next step.
Step 2: Insert
Hold the needle in one hand with the eye facing you. Take the needle threader in your other hand. Keep your hands steady while you work.
Carefully slide the thin wire loop of the needle threader through the eye of the needle. Push it in gently until the loop comes out on the other side. Do not force it if it feels stuck.
Make sure the wire loop is fully through the needle eye before moving on. The threader should stay in place without bending too much. Once it is secure, you are ready to add the thread.
Step 3: Thread
Take the end of the thread and place it through the wire loop of the needle threader. Push the thread through until a few inches are showing. This gives you a better grip.
Hold the thread gently so it does not slip out of the wire loop. Make sure the thread is lying flat and is not twisted. A straight thread moves through the needle more easily.
Check that the thread is secure before going to the next step. If it slips out, simply place it back into the wire loop. Once everything is in place, you are ready to pull the thread through the needle.
Step 4: Pull
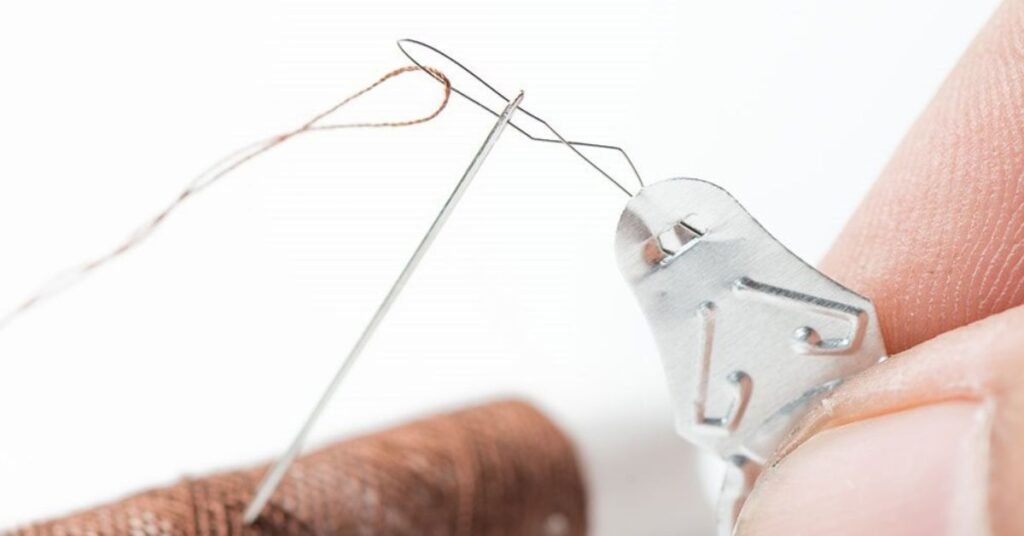
Slowly pull the needle threader back through the eye of the needle. Keep the thread in the wire loop as you pull. Move gently to avoid bending the wire.
As the threader comes through the needle, the thread will follow it. Continue pulling until the thread passes completely through the needle eye. Do not pull too fast.
Once the thread is through the needle, remove the threader carefully. Hold both the needle and thread to keep them steady. You are now almost ready to start sewing.
Step 5: Finish
Remove the needle threader from the thread carefully. Hold the needle with one hand and pull the thread until you have the length you need. Make sure the thread moves smoothly through the needle eye.
If you are sewing by hand, tie a small knot at the end of the thread. This helps keep the thread from slipping out while you sew. If you are using a sewing machine, follow your machine’s threading instructions instead.
Take a final look at the needle and thread before you begin sewing. Make sure the thread is not twisted or frayed. Your needle is now threaded and ready for your next sewing project.
Comparison Table
Different ways can be used to thread a needle. Some methods are quick and easy, while others take more time. The table below compares using a needle threader with threading a needle by hand.
A needle threader is a great choice for beginners. It saves time and reduces eye strain. Hand threading still works well, but it may require more patience, especially with small needles.
| Feature | Using a Needle Threader | Threading by Hand |
| Difficulty | Very easy | Can be difficult |
| Speed | Fast | Slower |
| Best for Beginners | Yes | No |
| Eye Strain | Less | More |
| Small Needle Eyes | Easy to use | Hard to thread |
| Thread Damage | Less likely | More likely |
| Accuracy | High | Depends on skill |
| Tools Needed | Needle, thread, threader | Needle and thread only |
| Learning Time | A few minutes | May take practice |
| Suitable for Older Adults | Yes | Sometimes difficult |
| Works with Fine Thread | Yes | Yes, but harder |
| Overall Convenience | Excellent | Average |
Mistakes
One common mistake is forcing the needle threader through the needle eye. This can bend or break the thin wire. Always insert the threader gently. If it does not fit, try using a larger needle or a smaller thread.
Another mistake is using a frayed or damaged thread. A rough thread is harder to pass through the wire loop and the needle. Cut the end of the thread neatly with sharp scissors before you begin. This makes threading much easier.
Many people also pull the threader too quickly. This can cause the thread to slip out or damage the wire loop. Pull slowly and keep the thread in place. Taking your time will give you better results and help your needle threader last longer.
Conclusion
Learning how to use a needle threader is a simple skill that can make sewing much easier. It saves time, reduces eye strain, and helps you thread even small needles with less effort. With a little practice, the process becomes quick and easy.
Keep a needle threader in your sewing kit for future projects. Follow each step carefully and avoid common mistakes for the best results. Whether you are new to sewing or have years of experience, this small tool can make a big difference.
FAQs
1. What is a needle threader?
A needle threader is a small sewing tool that helps you pass thread through the eye of a needle quickly and easily.
2. Can beginners use a needle threader?
Yes. A needle threader is perfect for beginners because it makes threading a needle simple and less frustrating.
3. Why does my needle threader keep breaking?
It may break if you force it through a needle eye that is too small or pull it too hard. Always use it gently.
4. Does a needle threader work with all needles?
Most needle threaders work with standard hand-sewing needles. Very tiny or specialty needles may require a different type of threader.
5. How can I make my needle threader last longer?
Store it safely, avoid bending the wire, and pull it through the needle gently. Proper care will help it last much longer.
No Responses